DunkaBoos Halloween Cookie Dippers
Indulge your 1990’s nostalgia with this frighteningly fabulous Dunkaroo dupe!
I give you……. DunkaBoos!
This spooky take on that favorite crispy cookie and creamy frosting dip is relatively easy, has great visual appeal, and are quite frankly, aGOREable! They are much quicker than hand piping and decorating individual cookies, give the same festive feel, and are great for classroom parties, favors, and Halloween get-togethers.
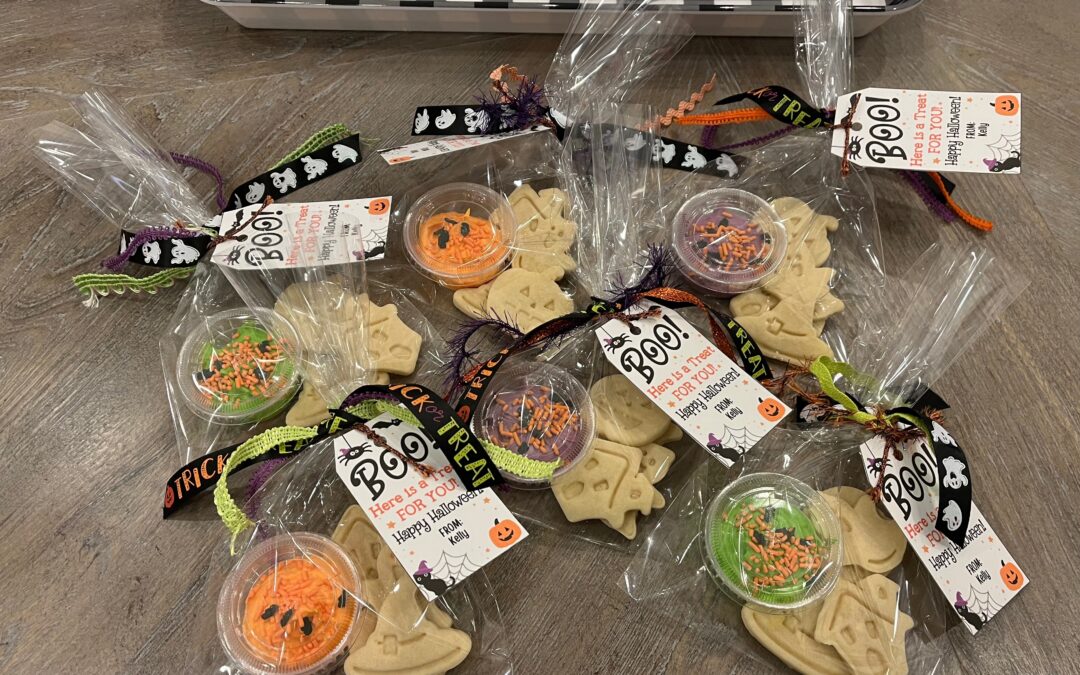
Package them in little plastic treat bags with our cute downloadable tags for personalized party favors or serve them on a spooky tray with a frosting dipper on the side for an instant party hit.
You will need:
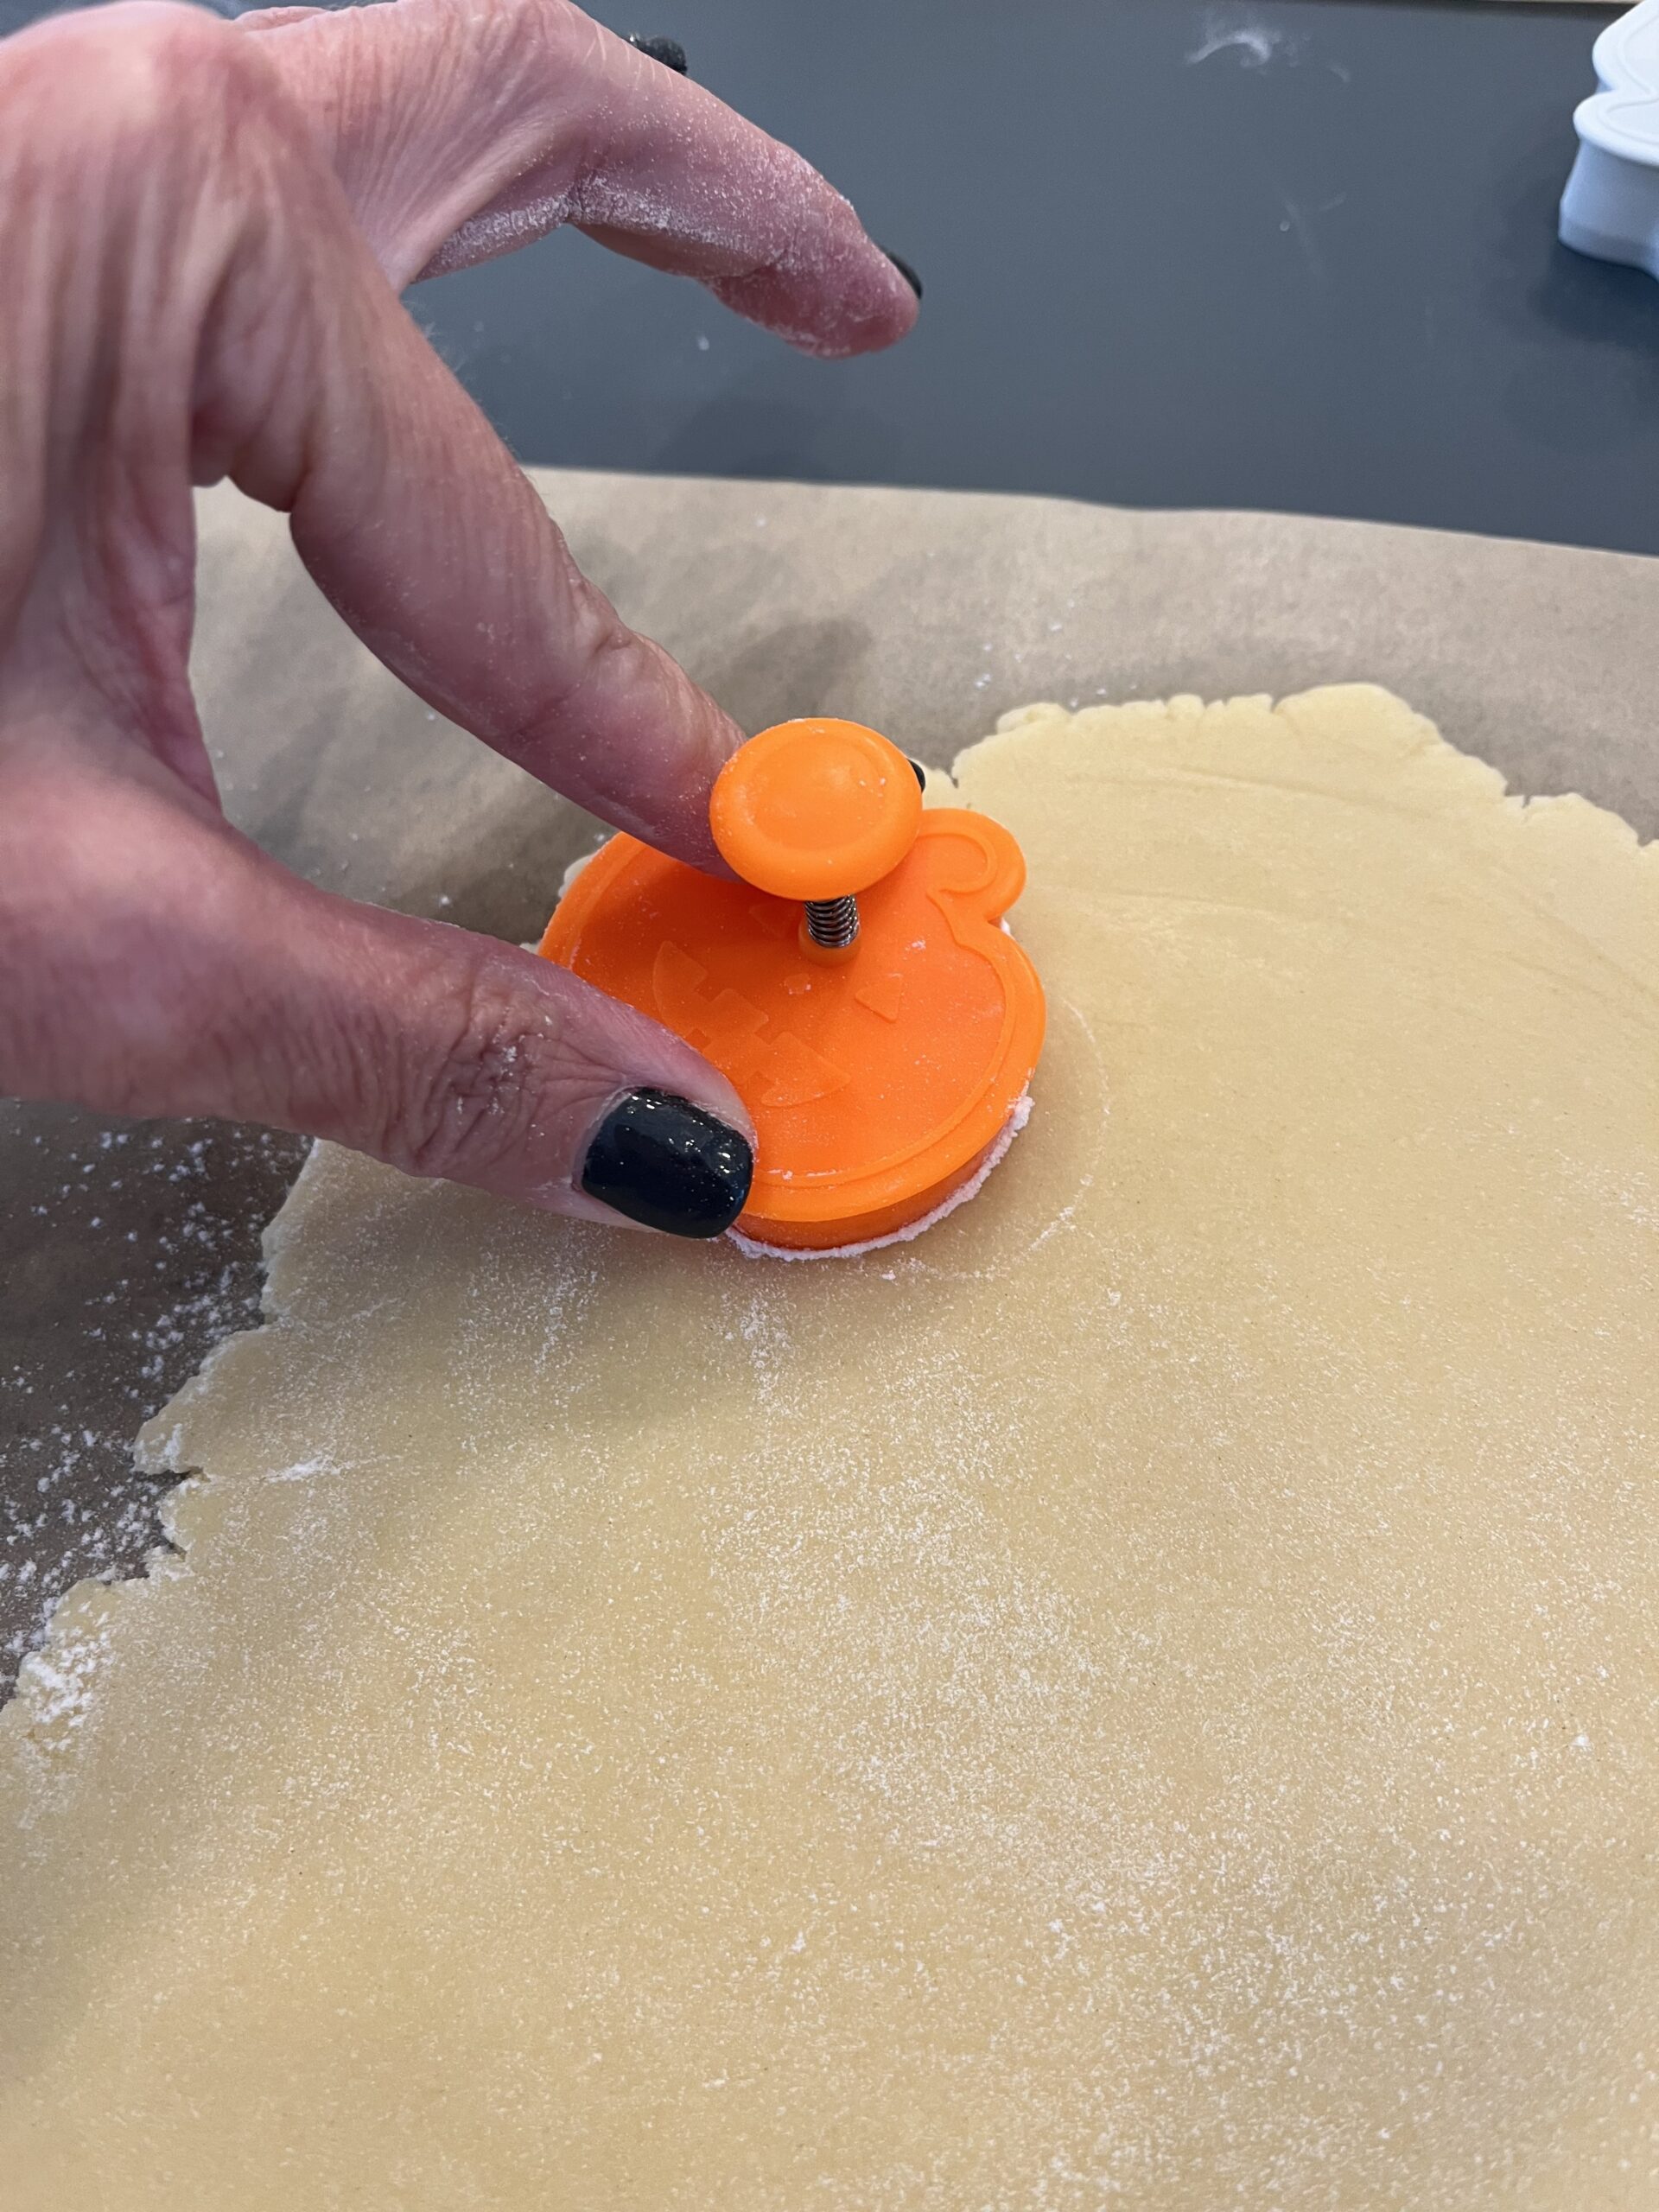
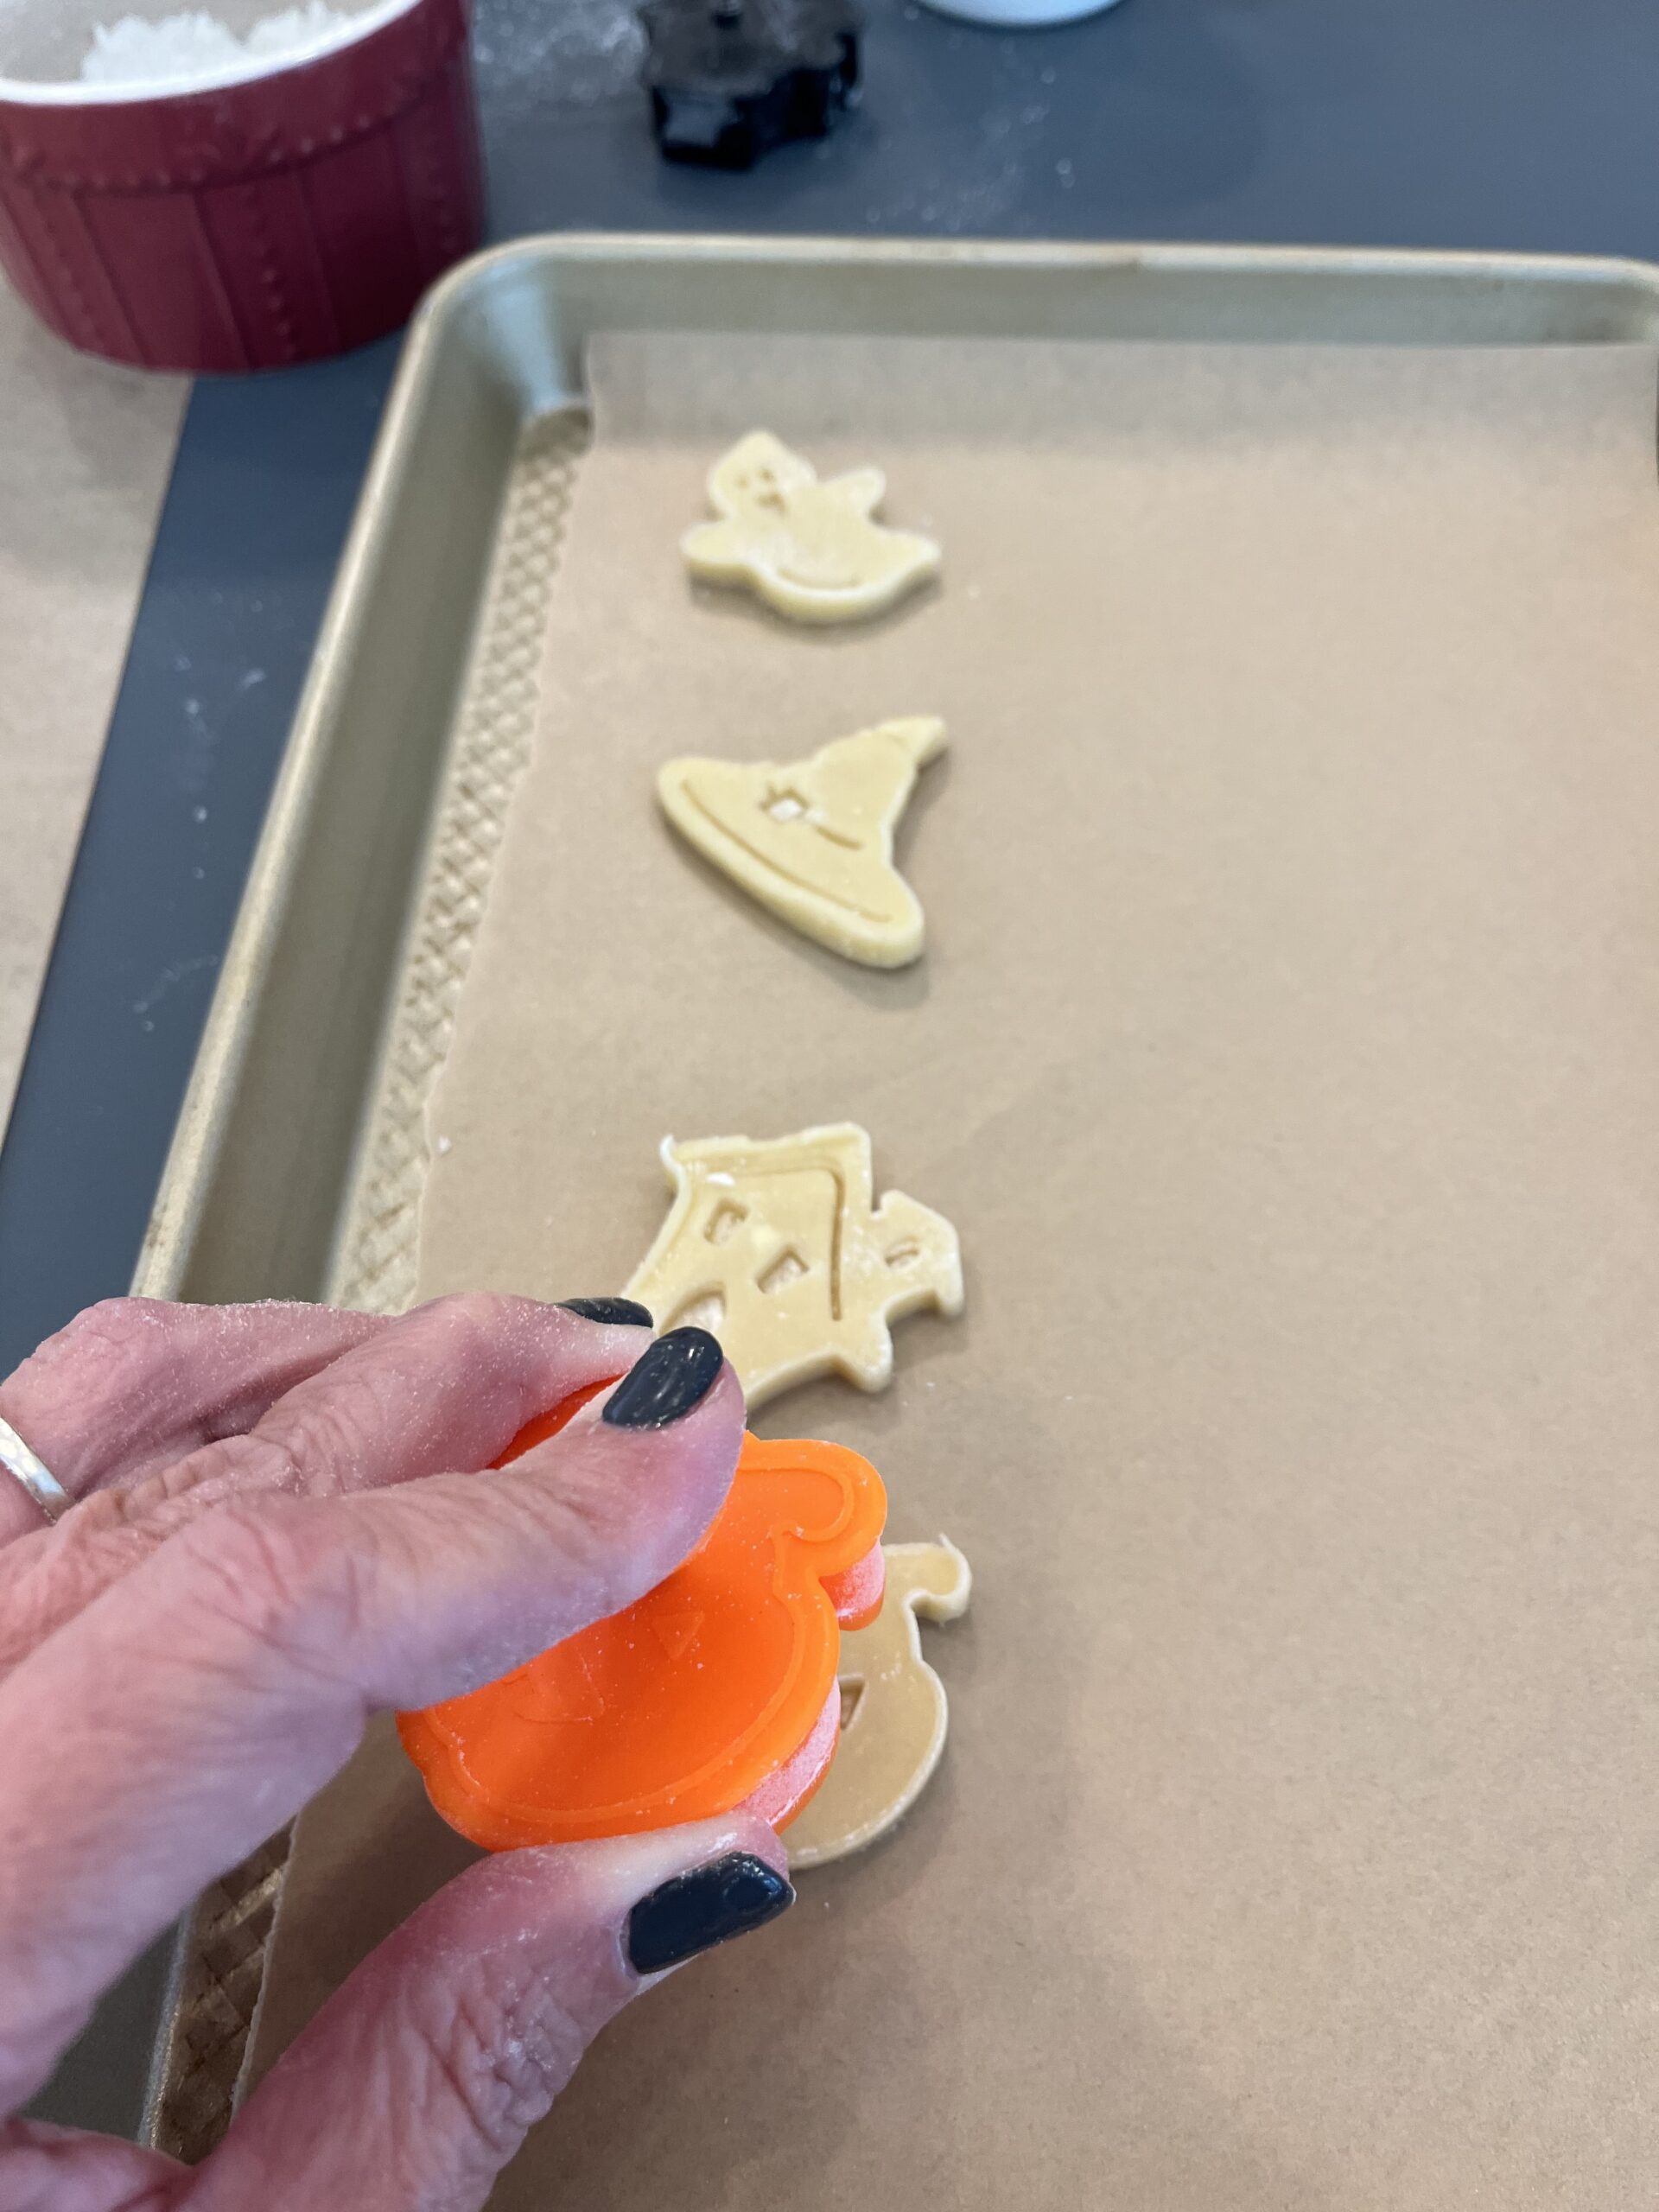
• Halloween cookie cutter plungers. I got these cute 2-inch ones here. They are super cute and the perfect size.
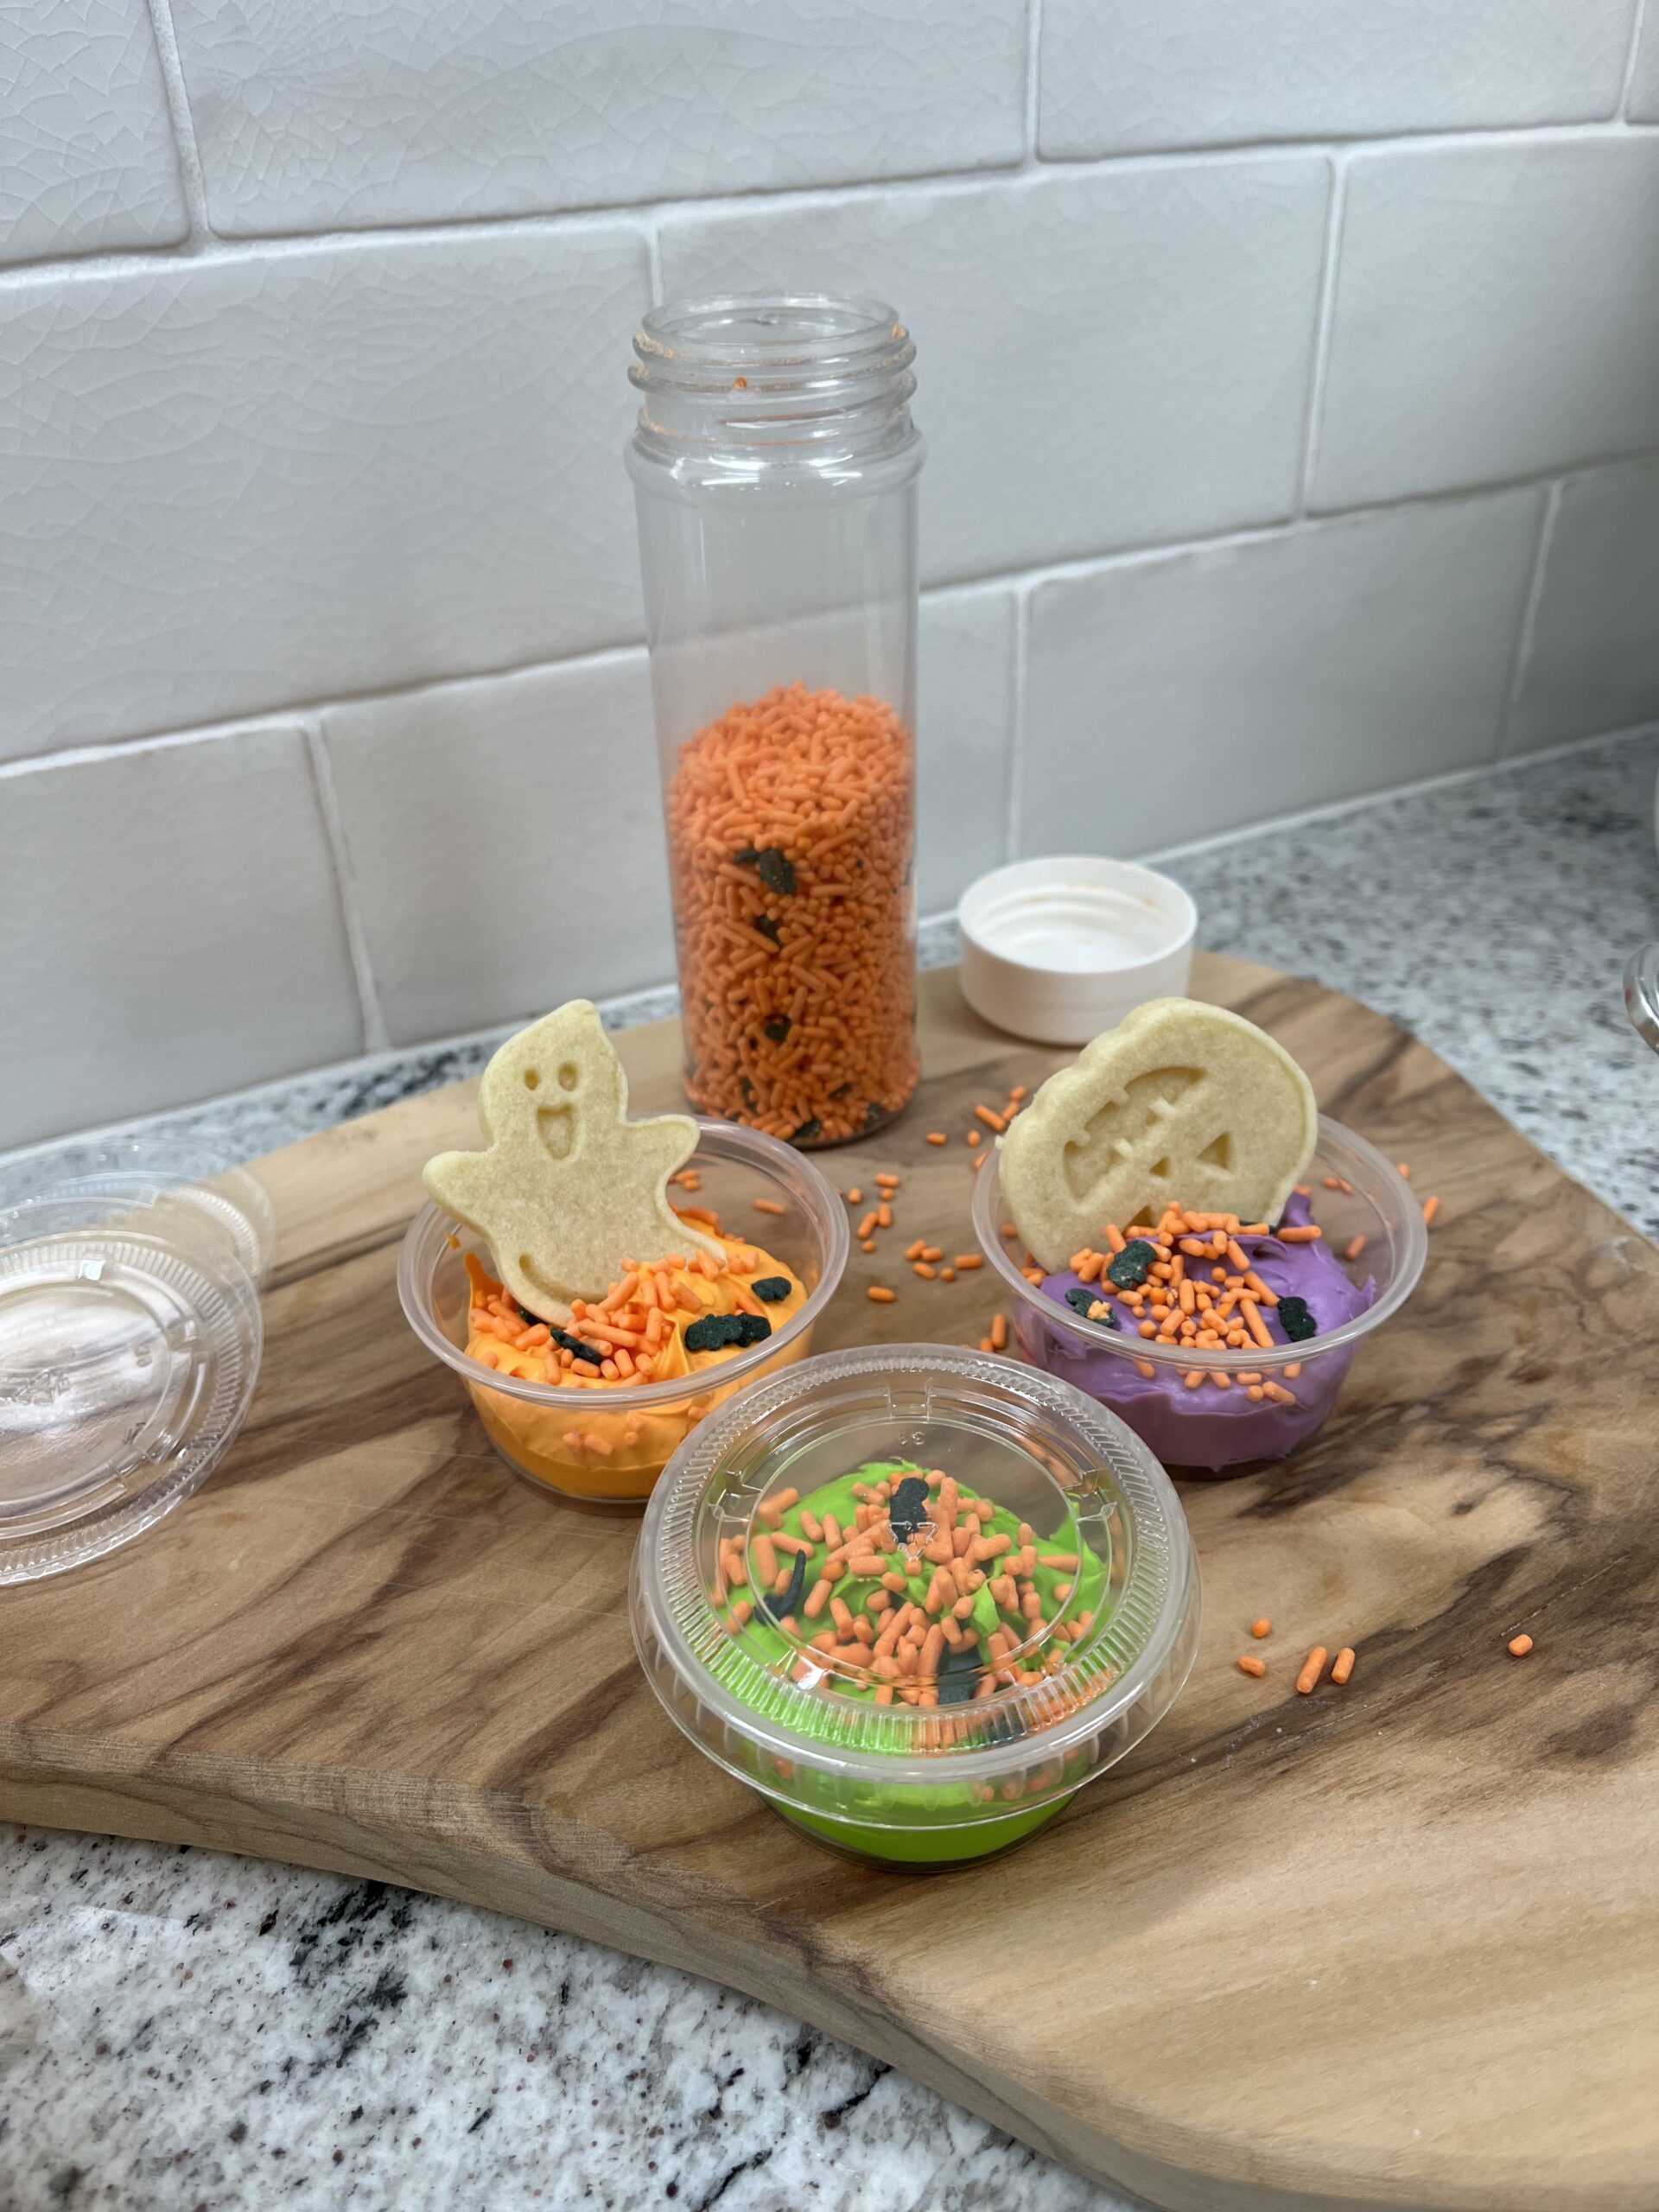
• WHITE canned frosting
• Food coloring (I use gel for the most vibrant, saturated colors)
• Halloween sprinkles
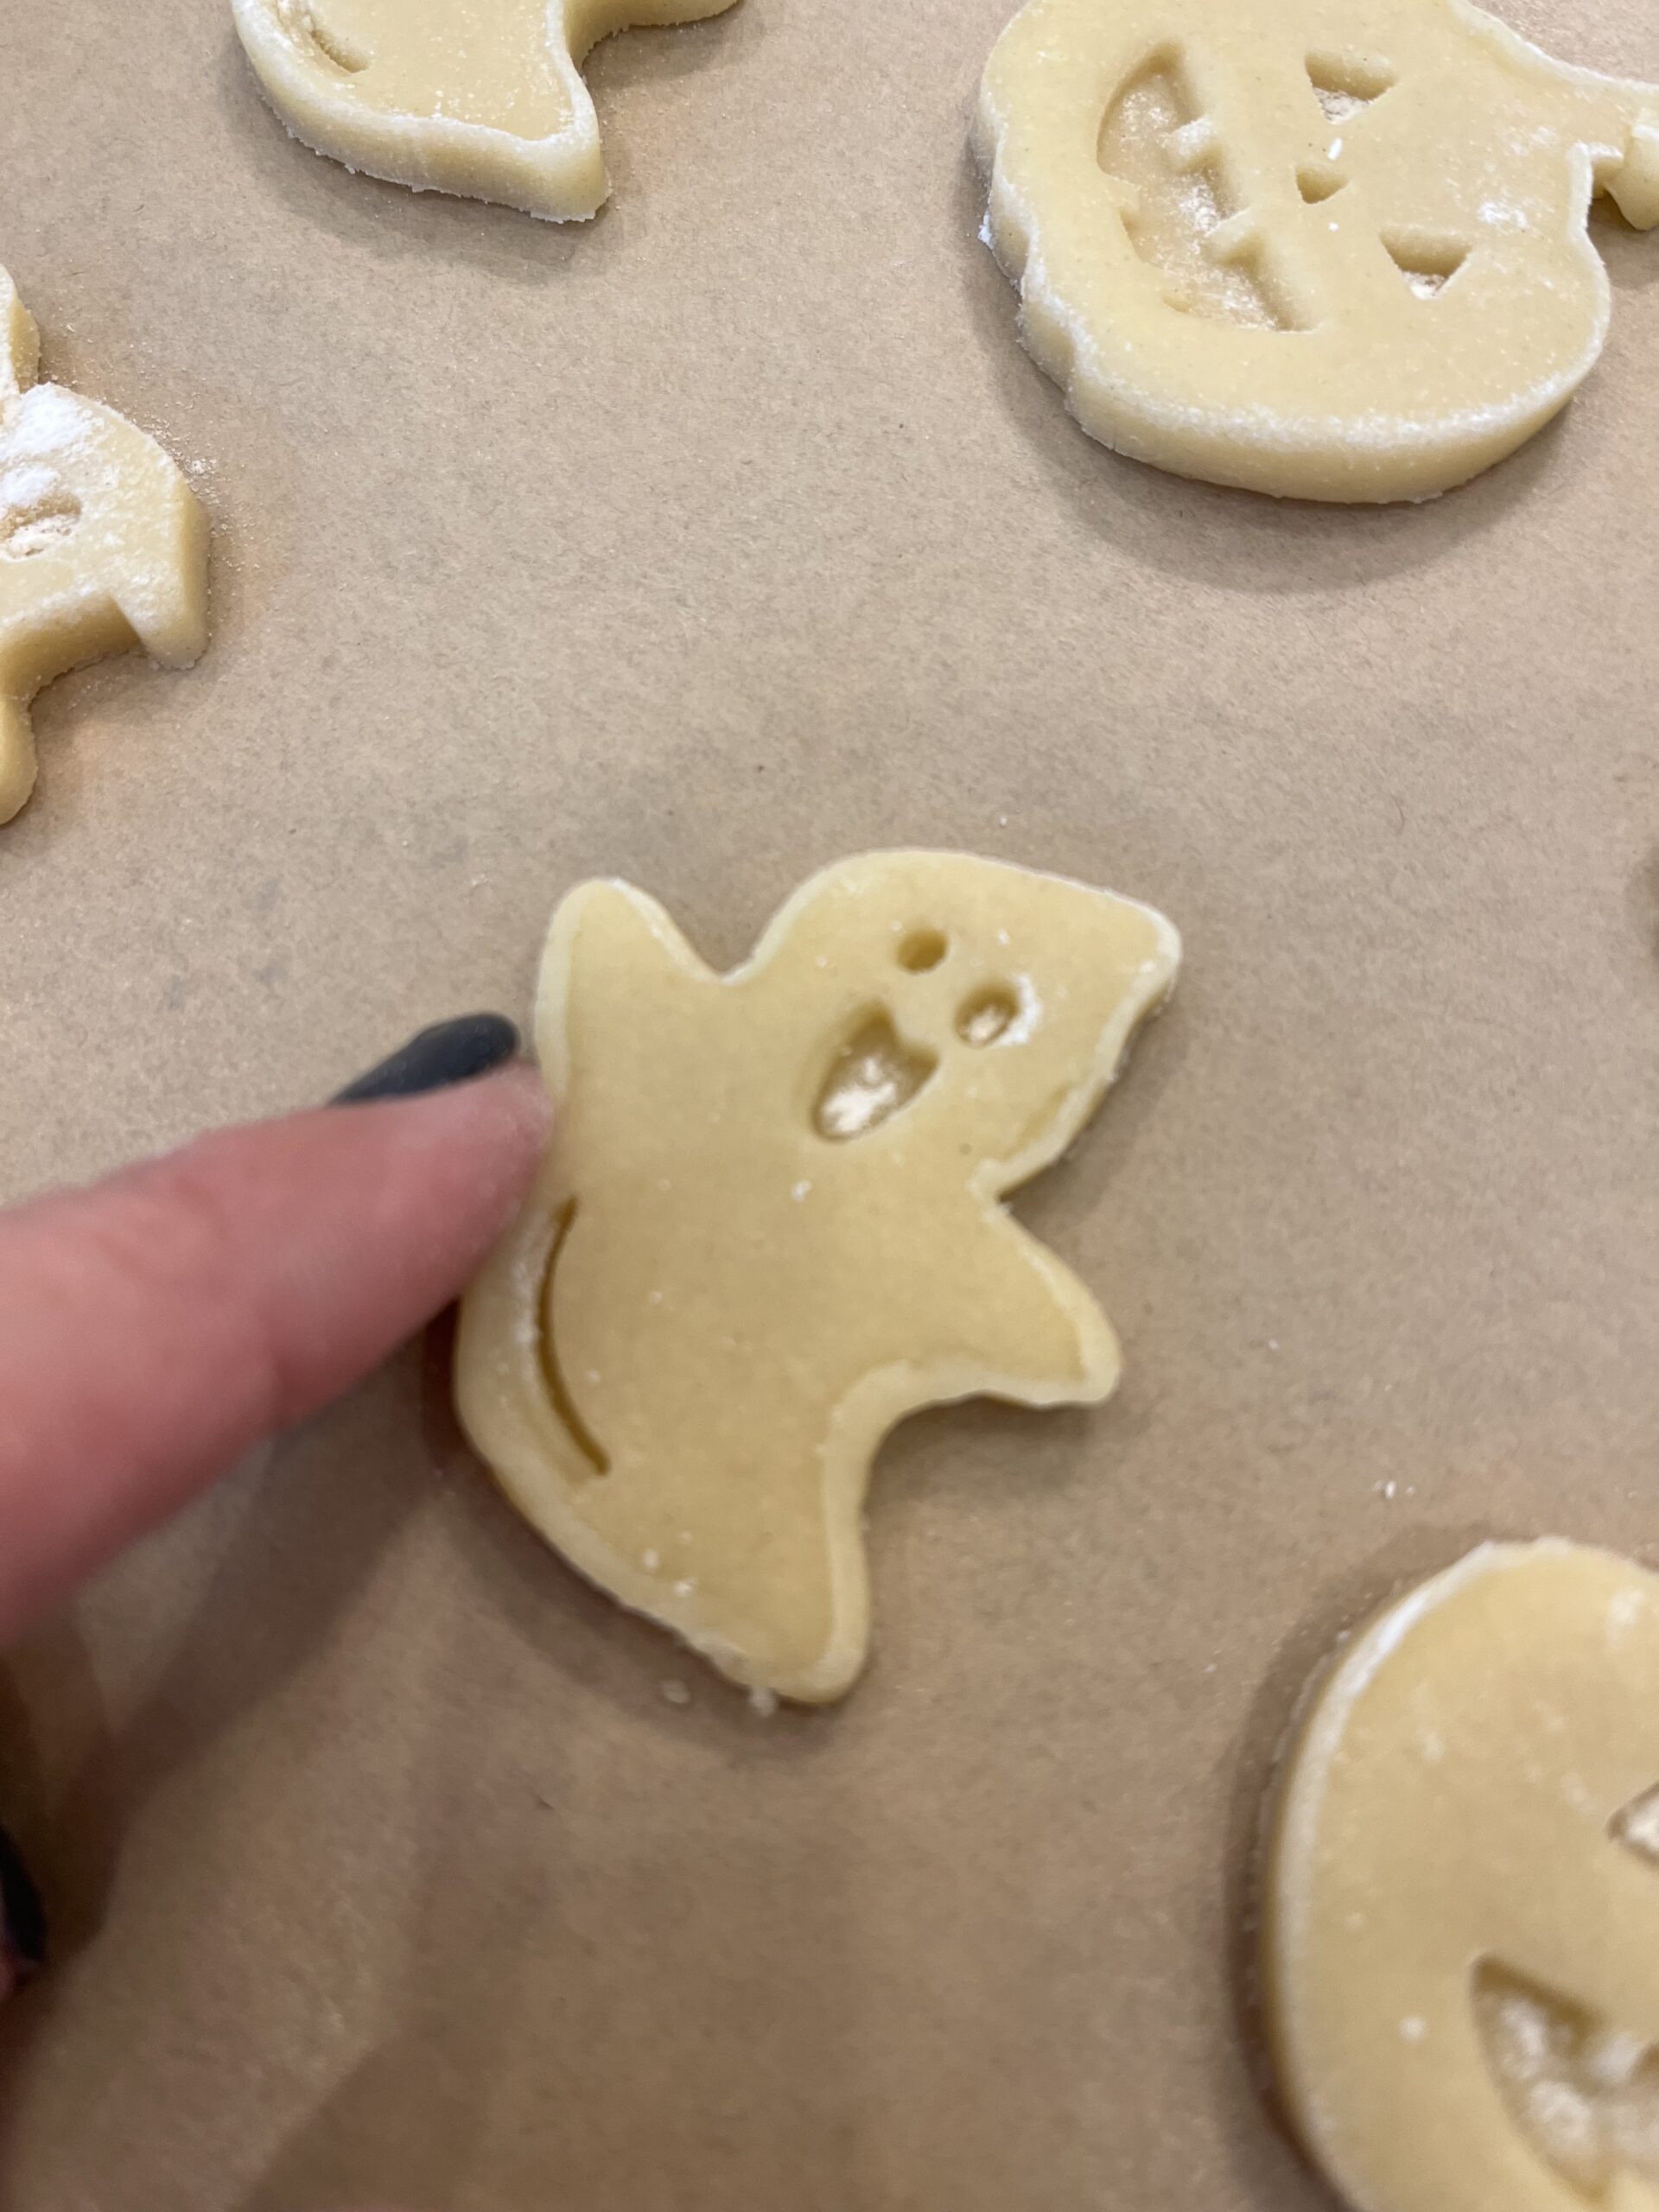
• Your favorite sugar cut out cookie dough. It is important to use a recipe that DOES NOT contain baking powder. Cut and bake or premade dough will not work because it contains baking soda and other additives, which make the cookies puff and spread, causing the stamped detail to blur or disappear as they bake. For a perfect recipe for cut-out cookie dough that doesn't spread, try this one.
Optional:
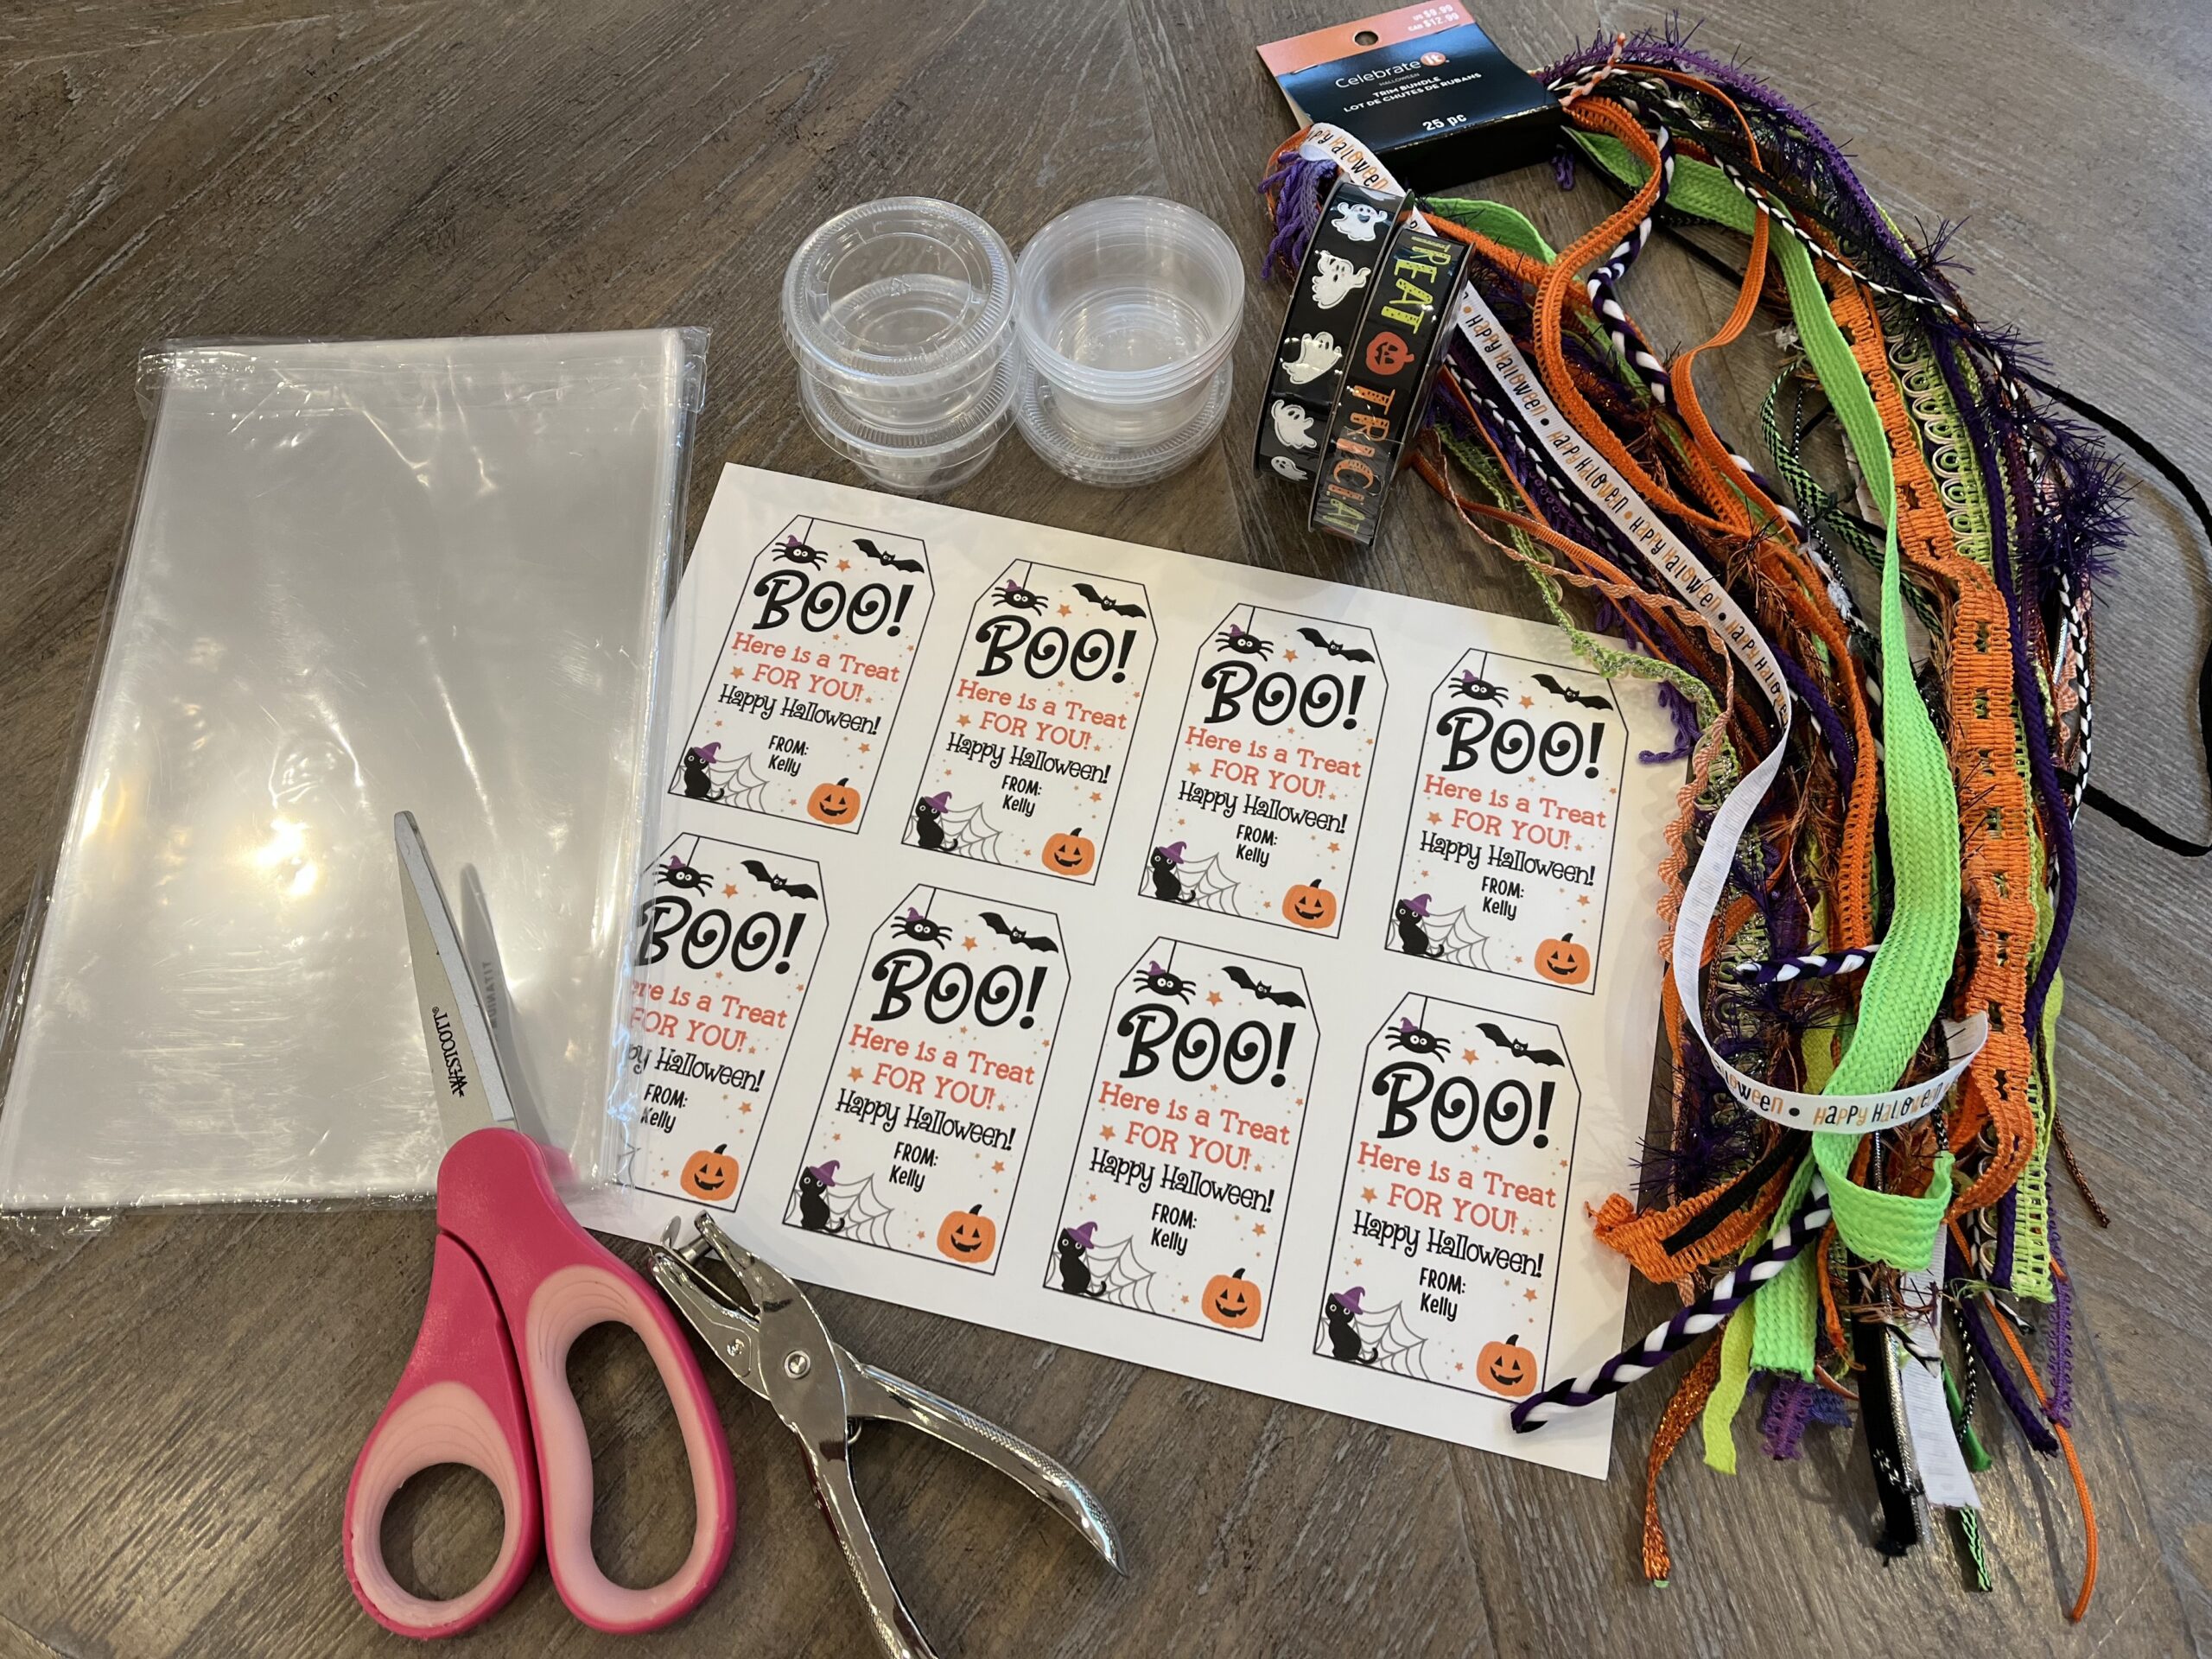
• plastic treat bags
• plastic sauce cups with lids (think jello shots?)
• festive tags (use our free printable ones available here)
Step 1: Get ready
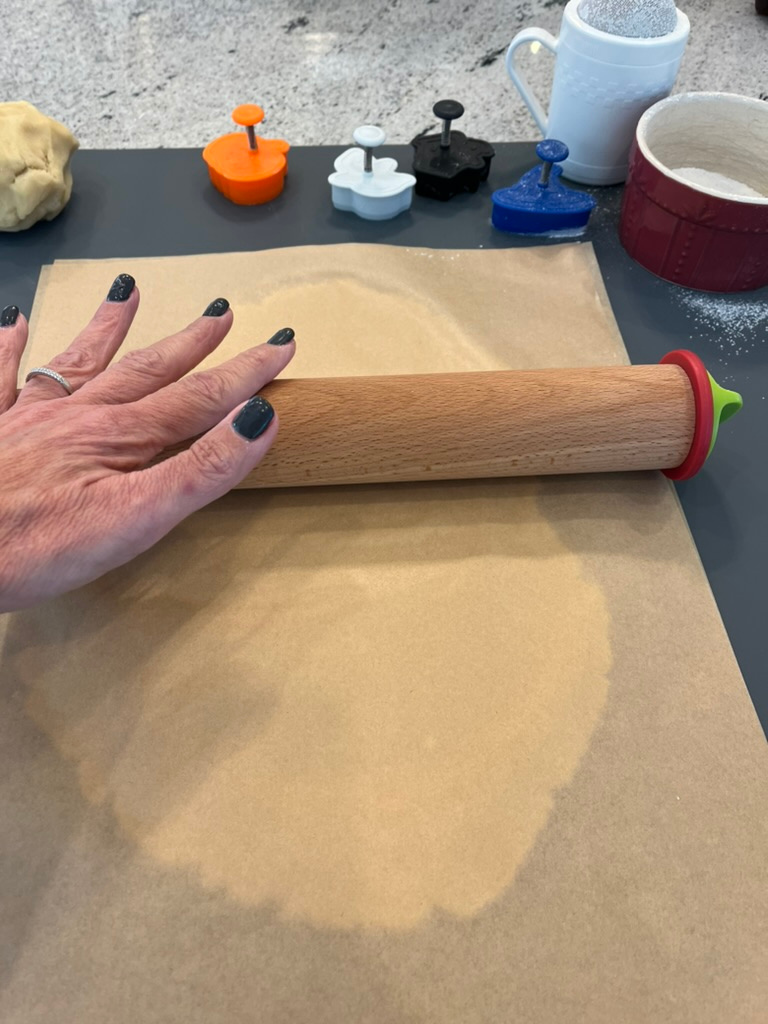
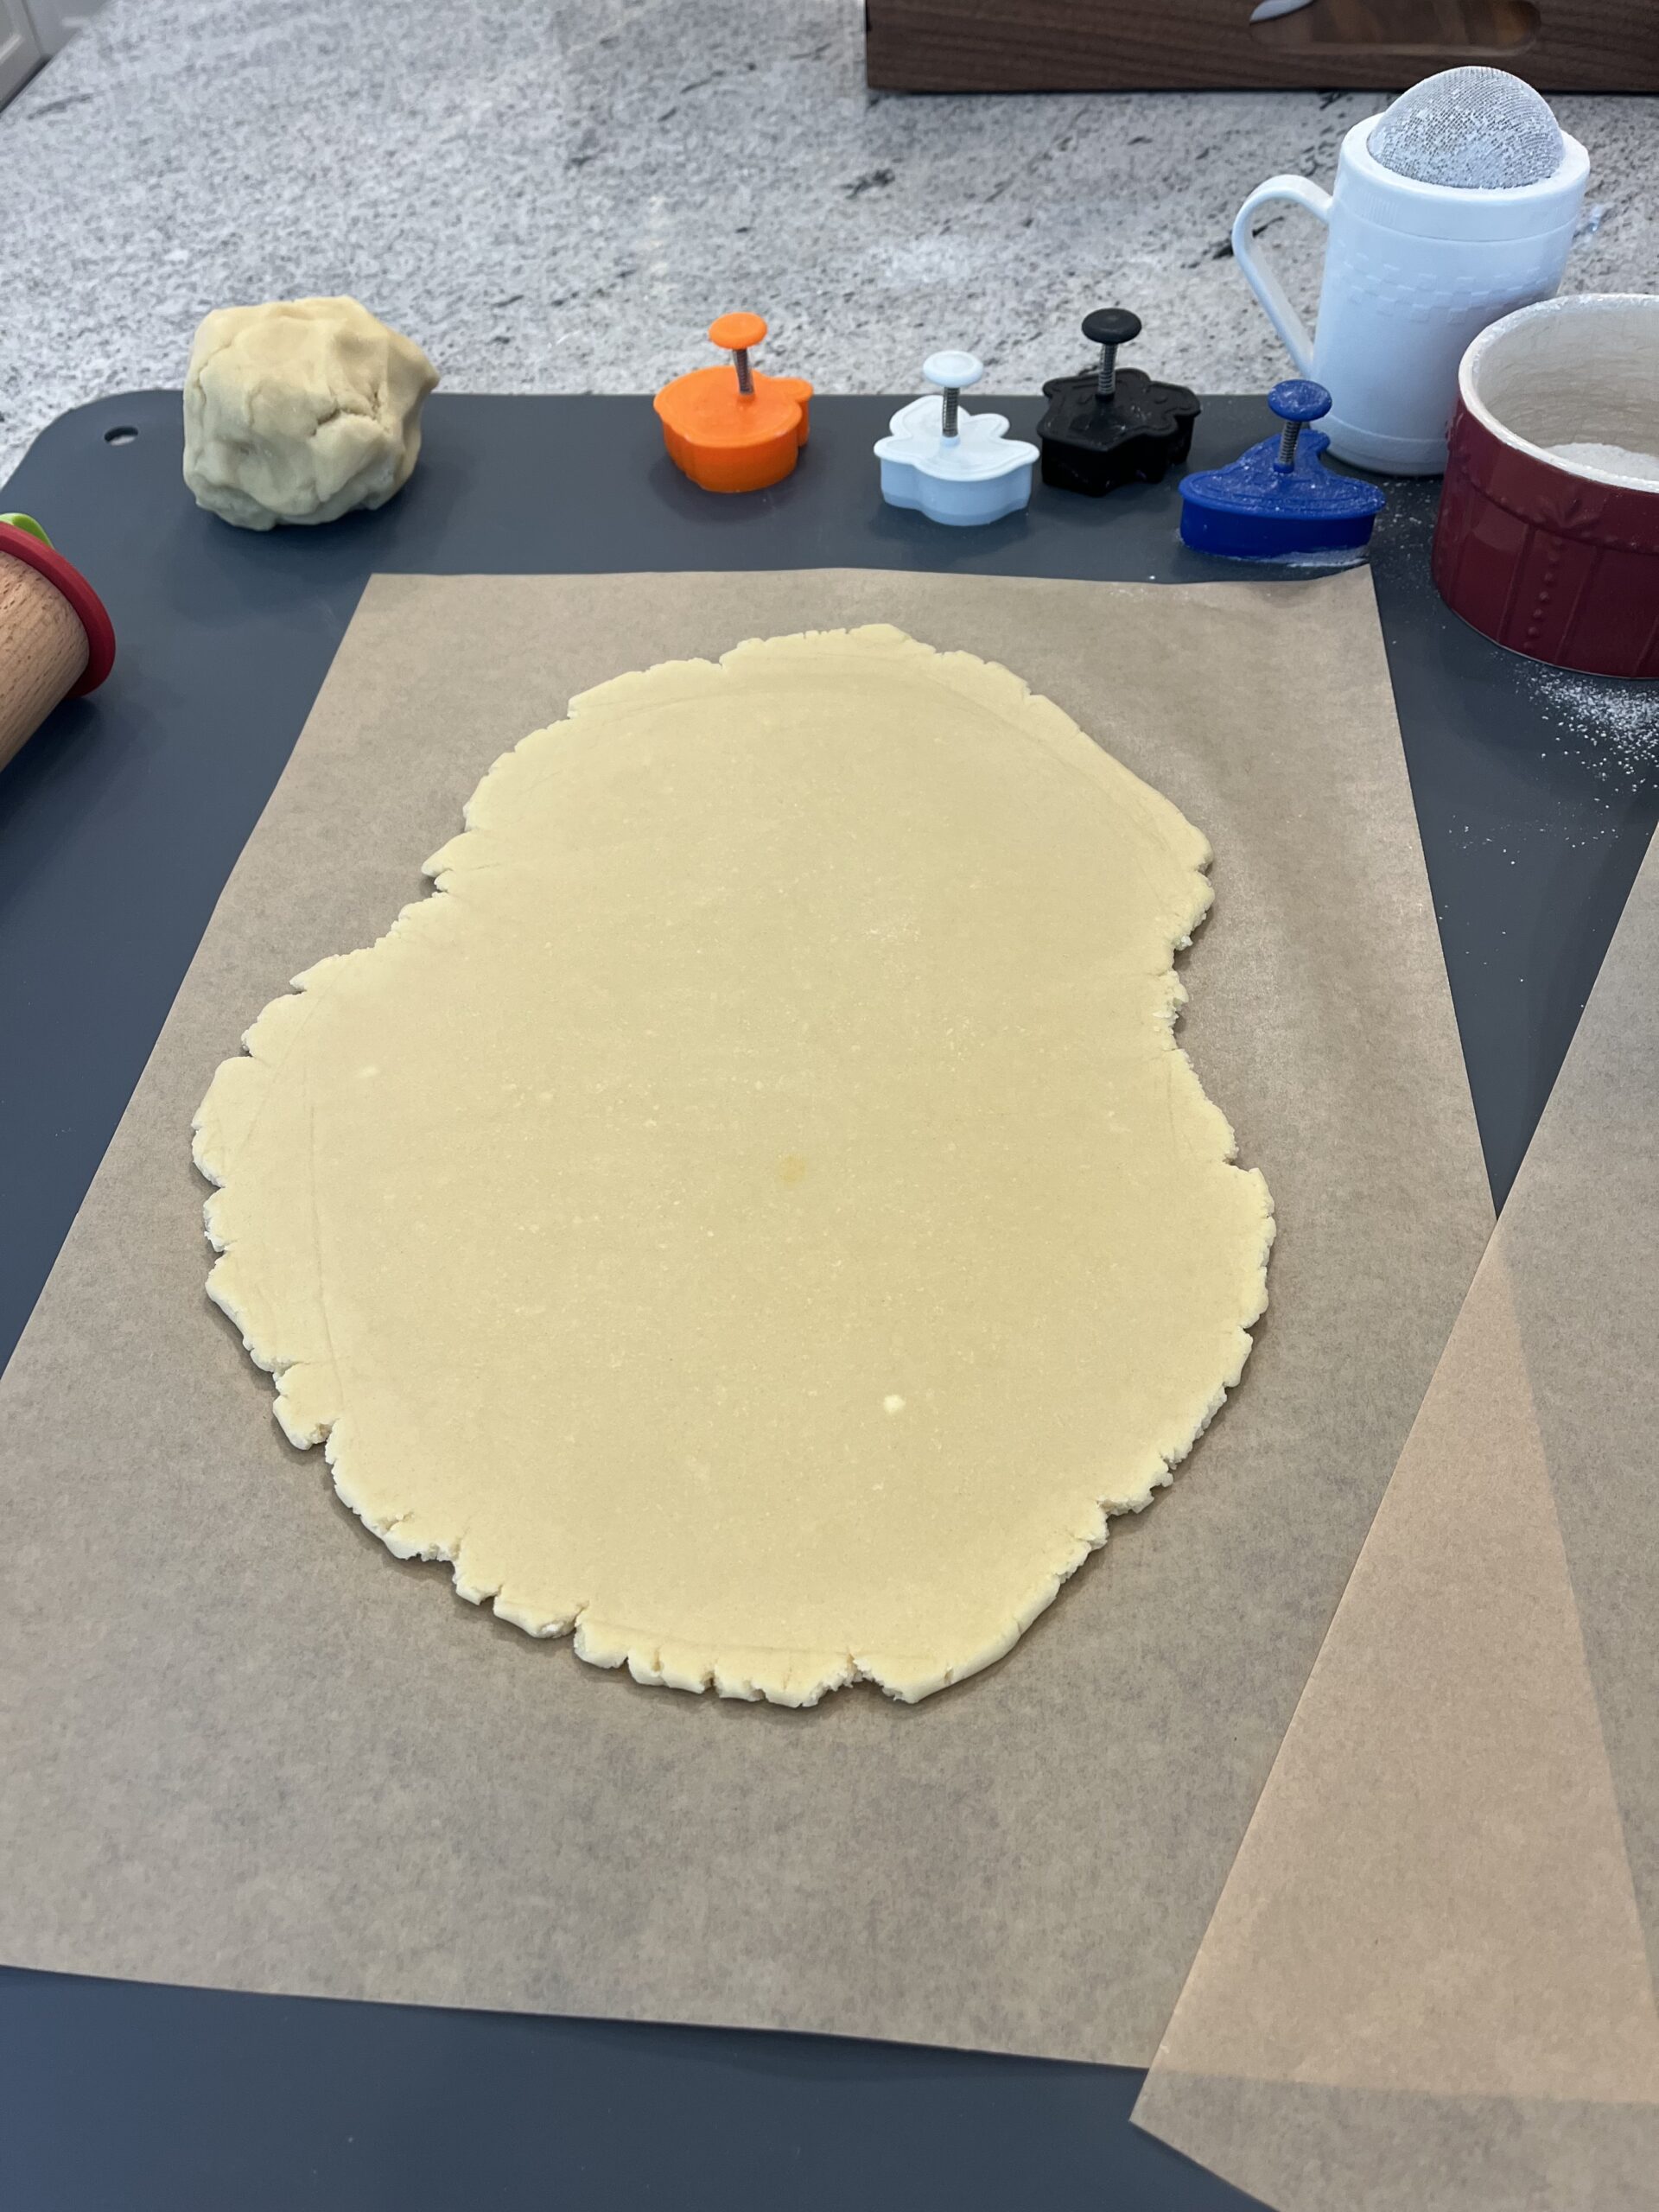
Roll dough to ¼ inch between 2 pieces of parchment paper. Refrigerate for one hour before cutting.
Step 2: Get set


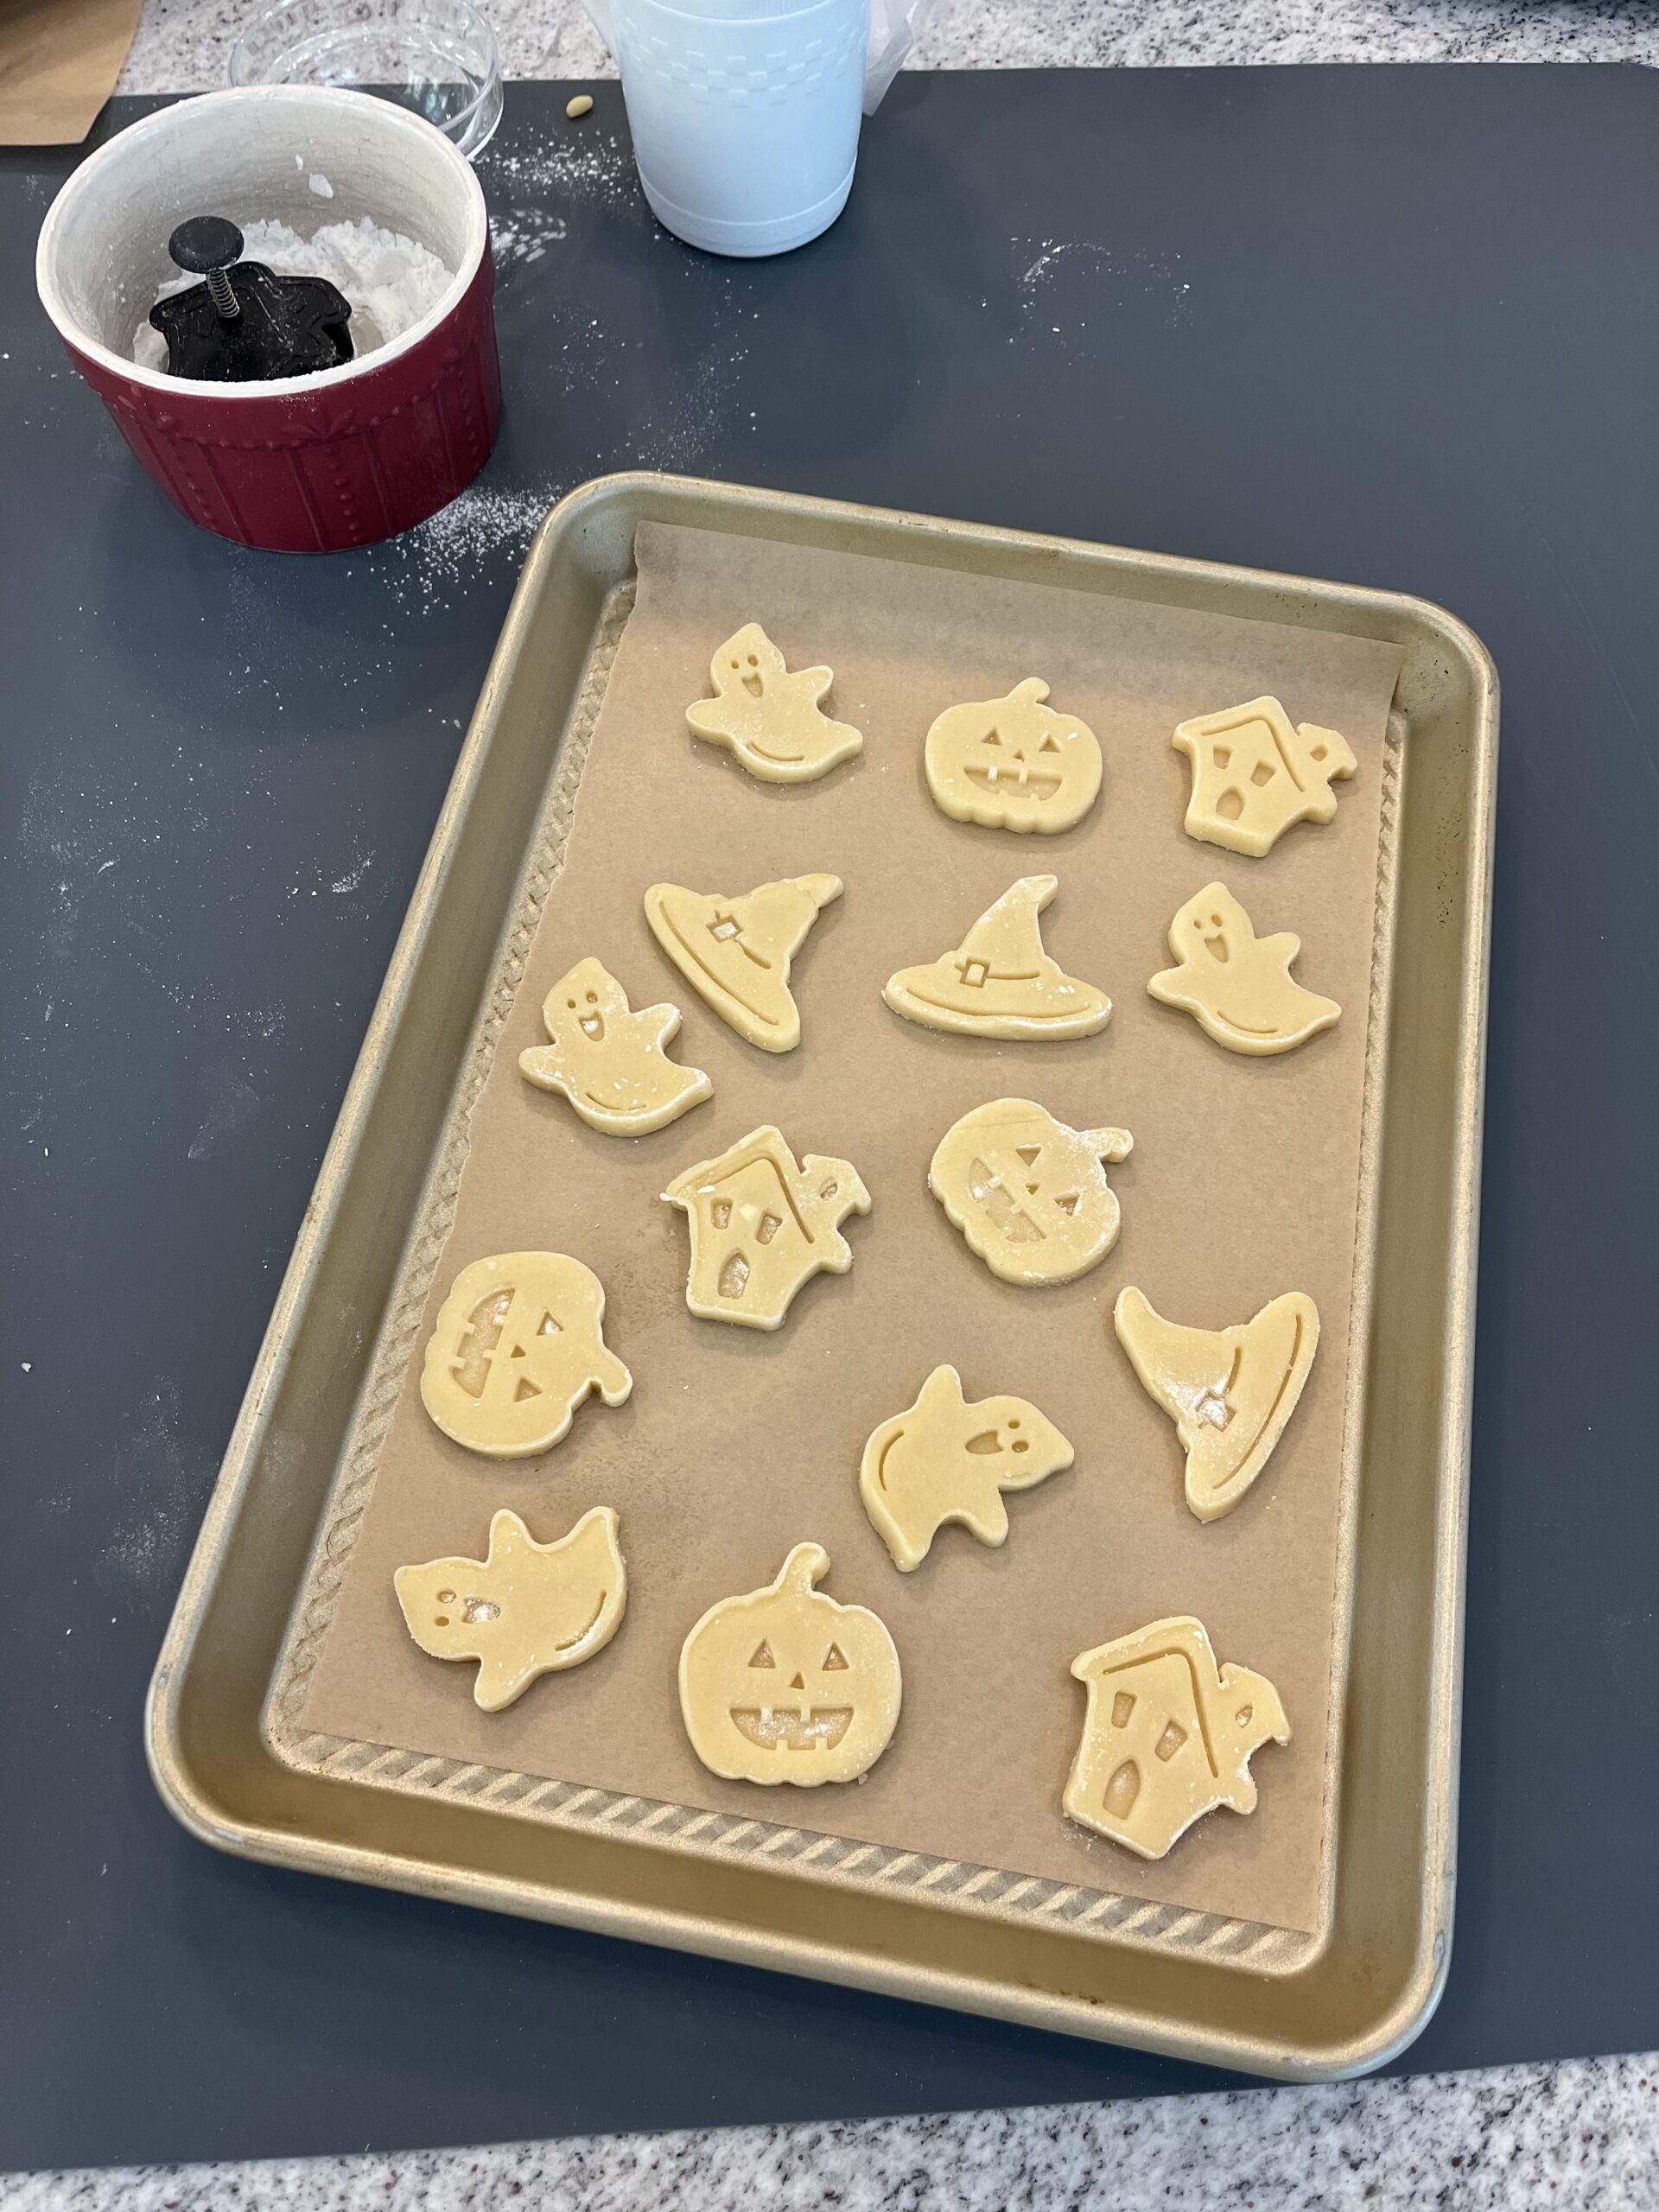
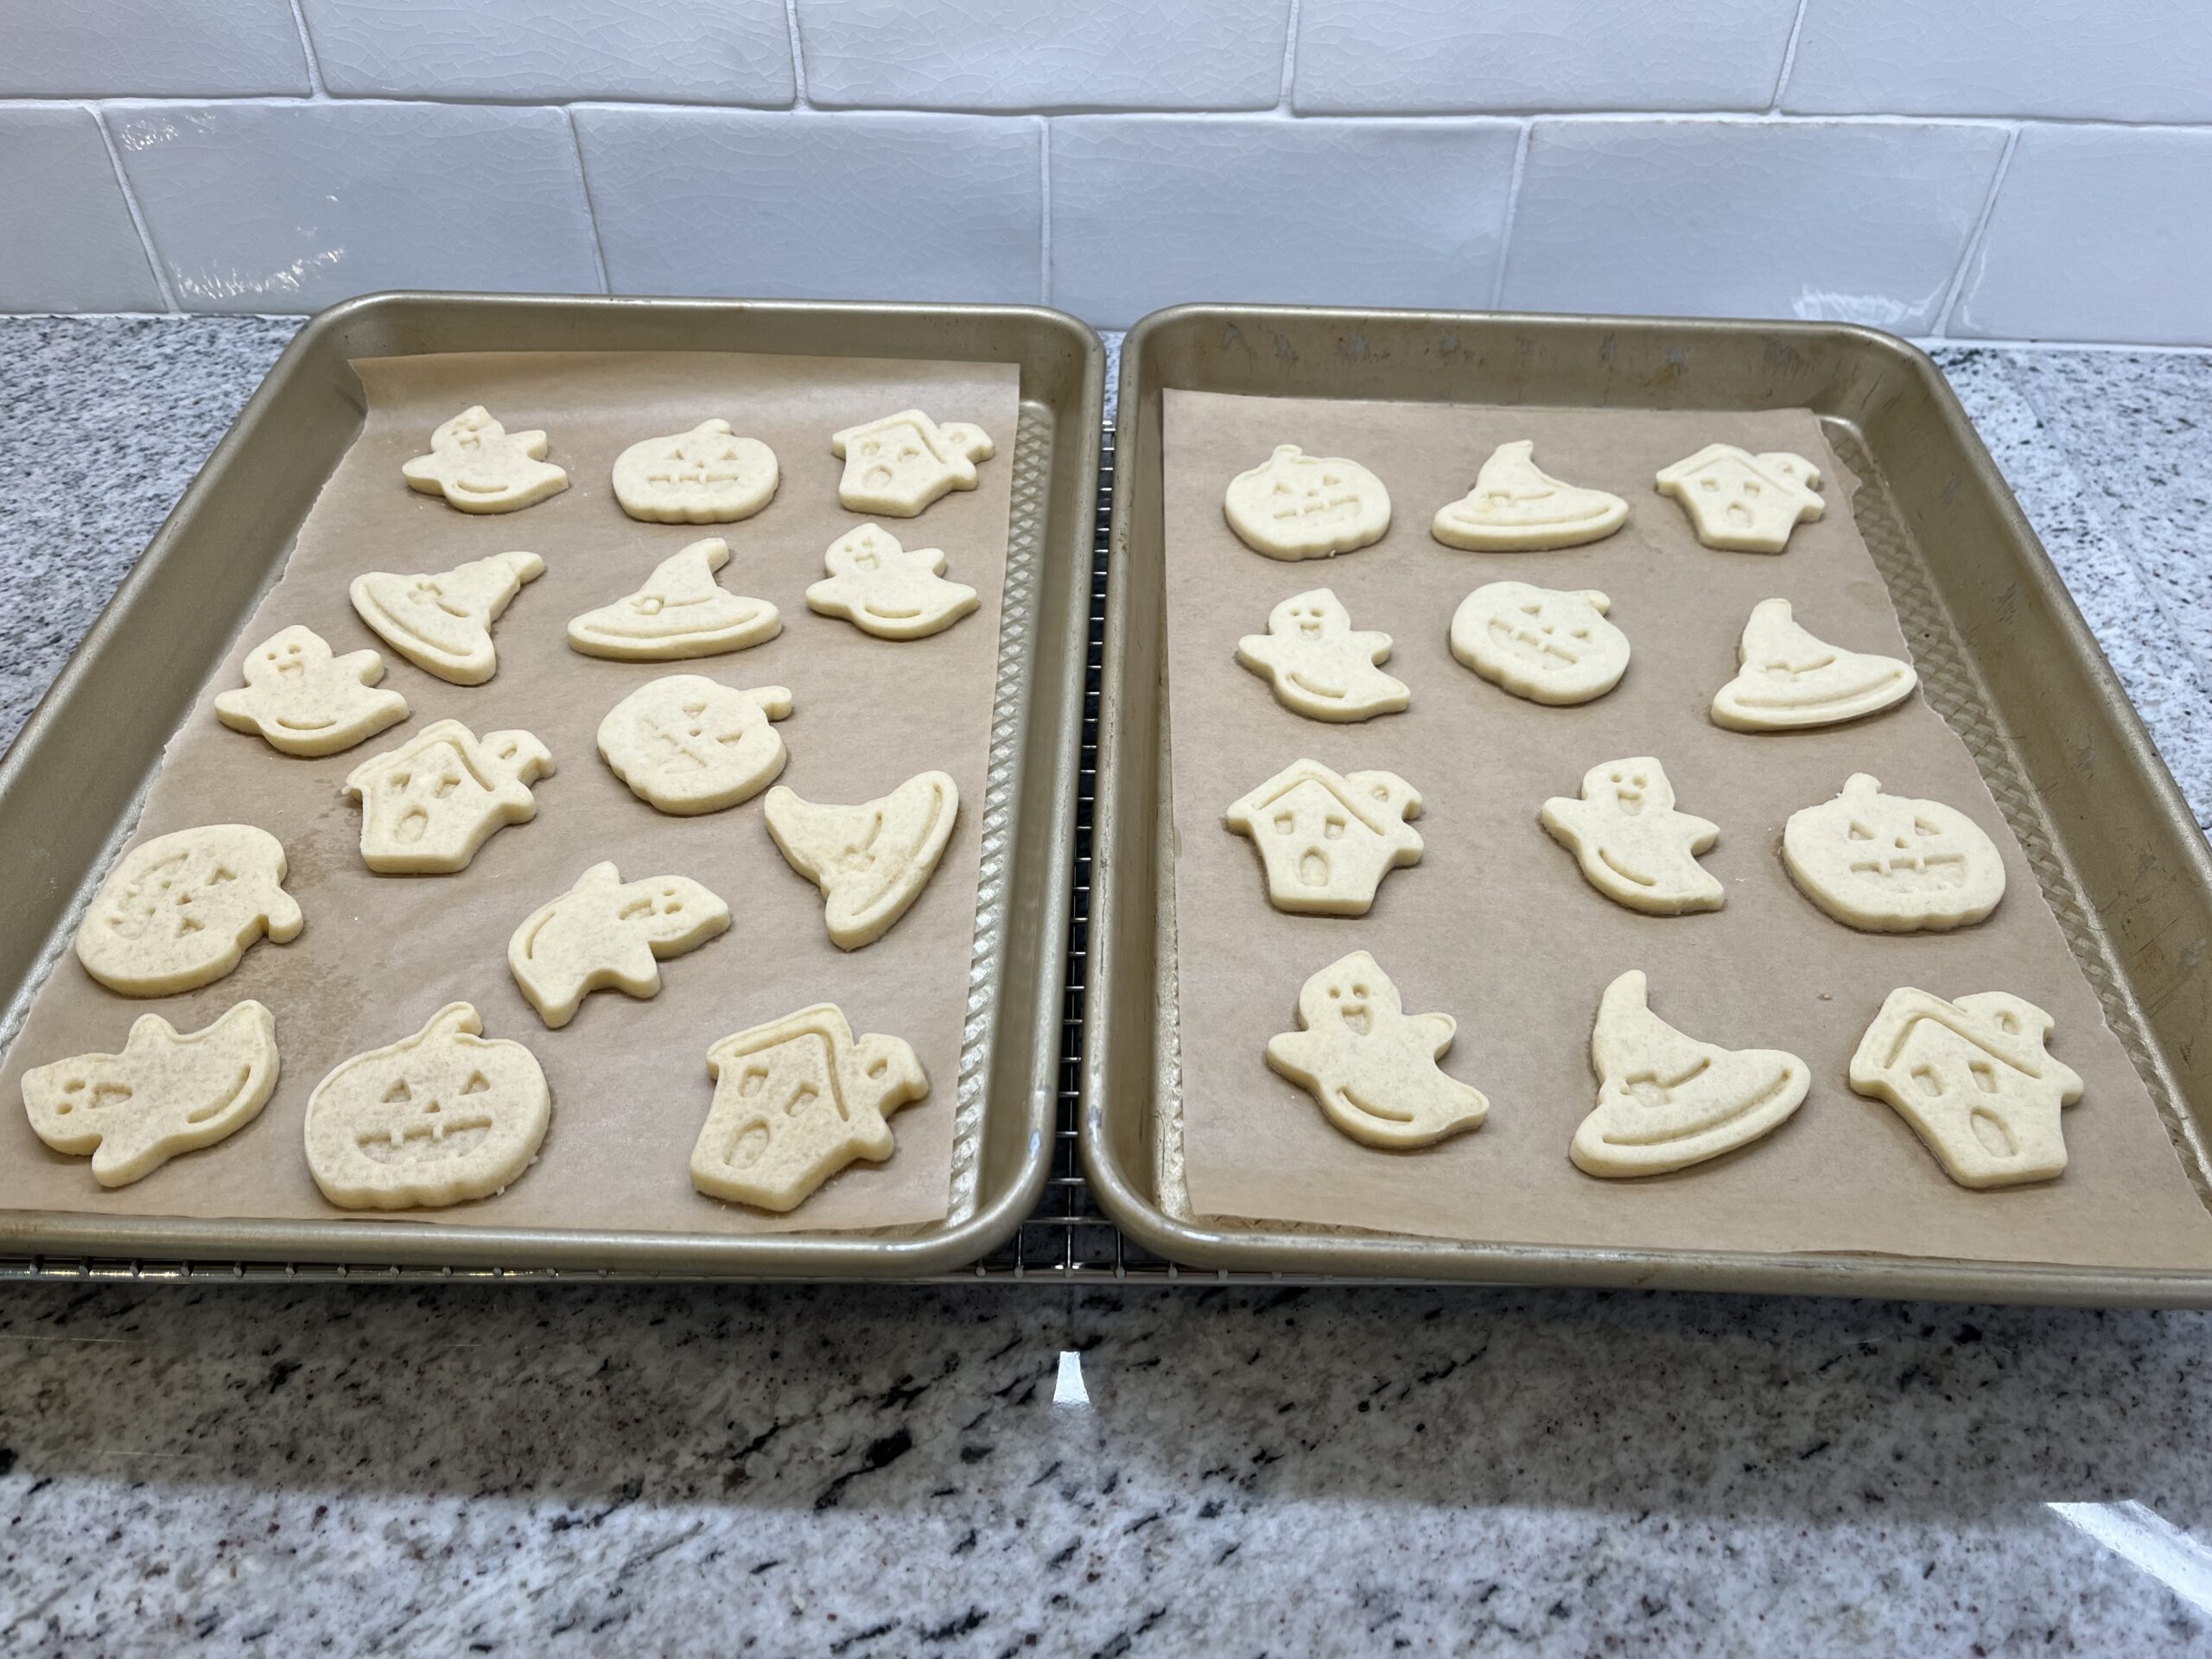

Step 3: Get Frosty
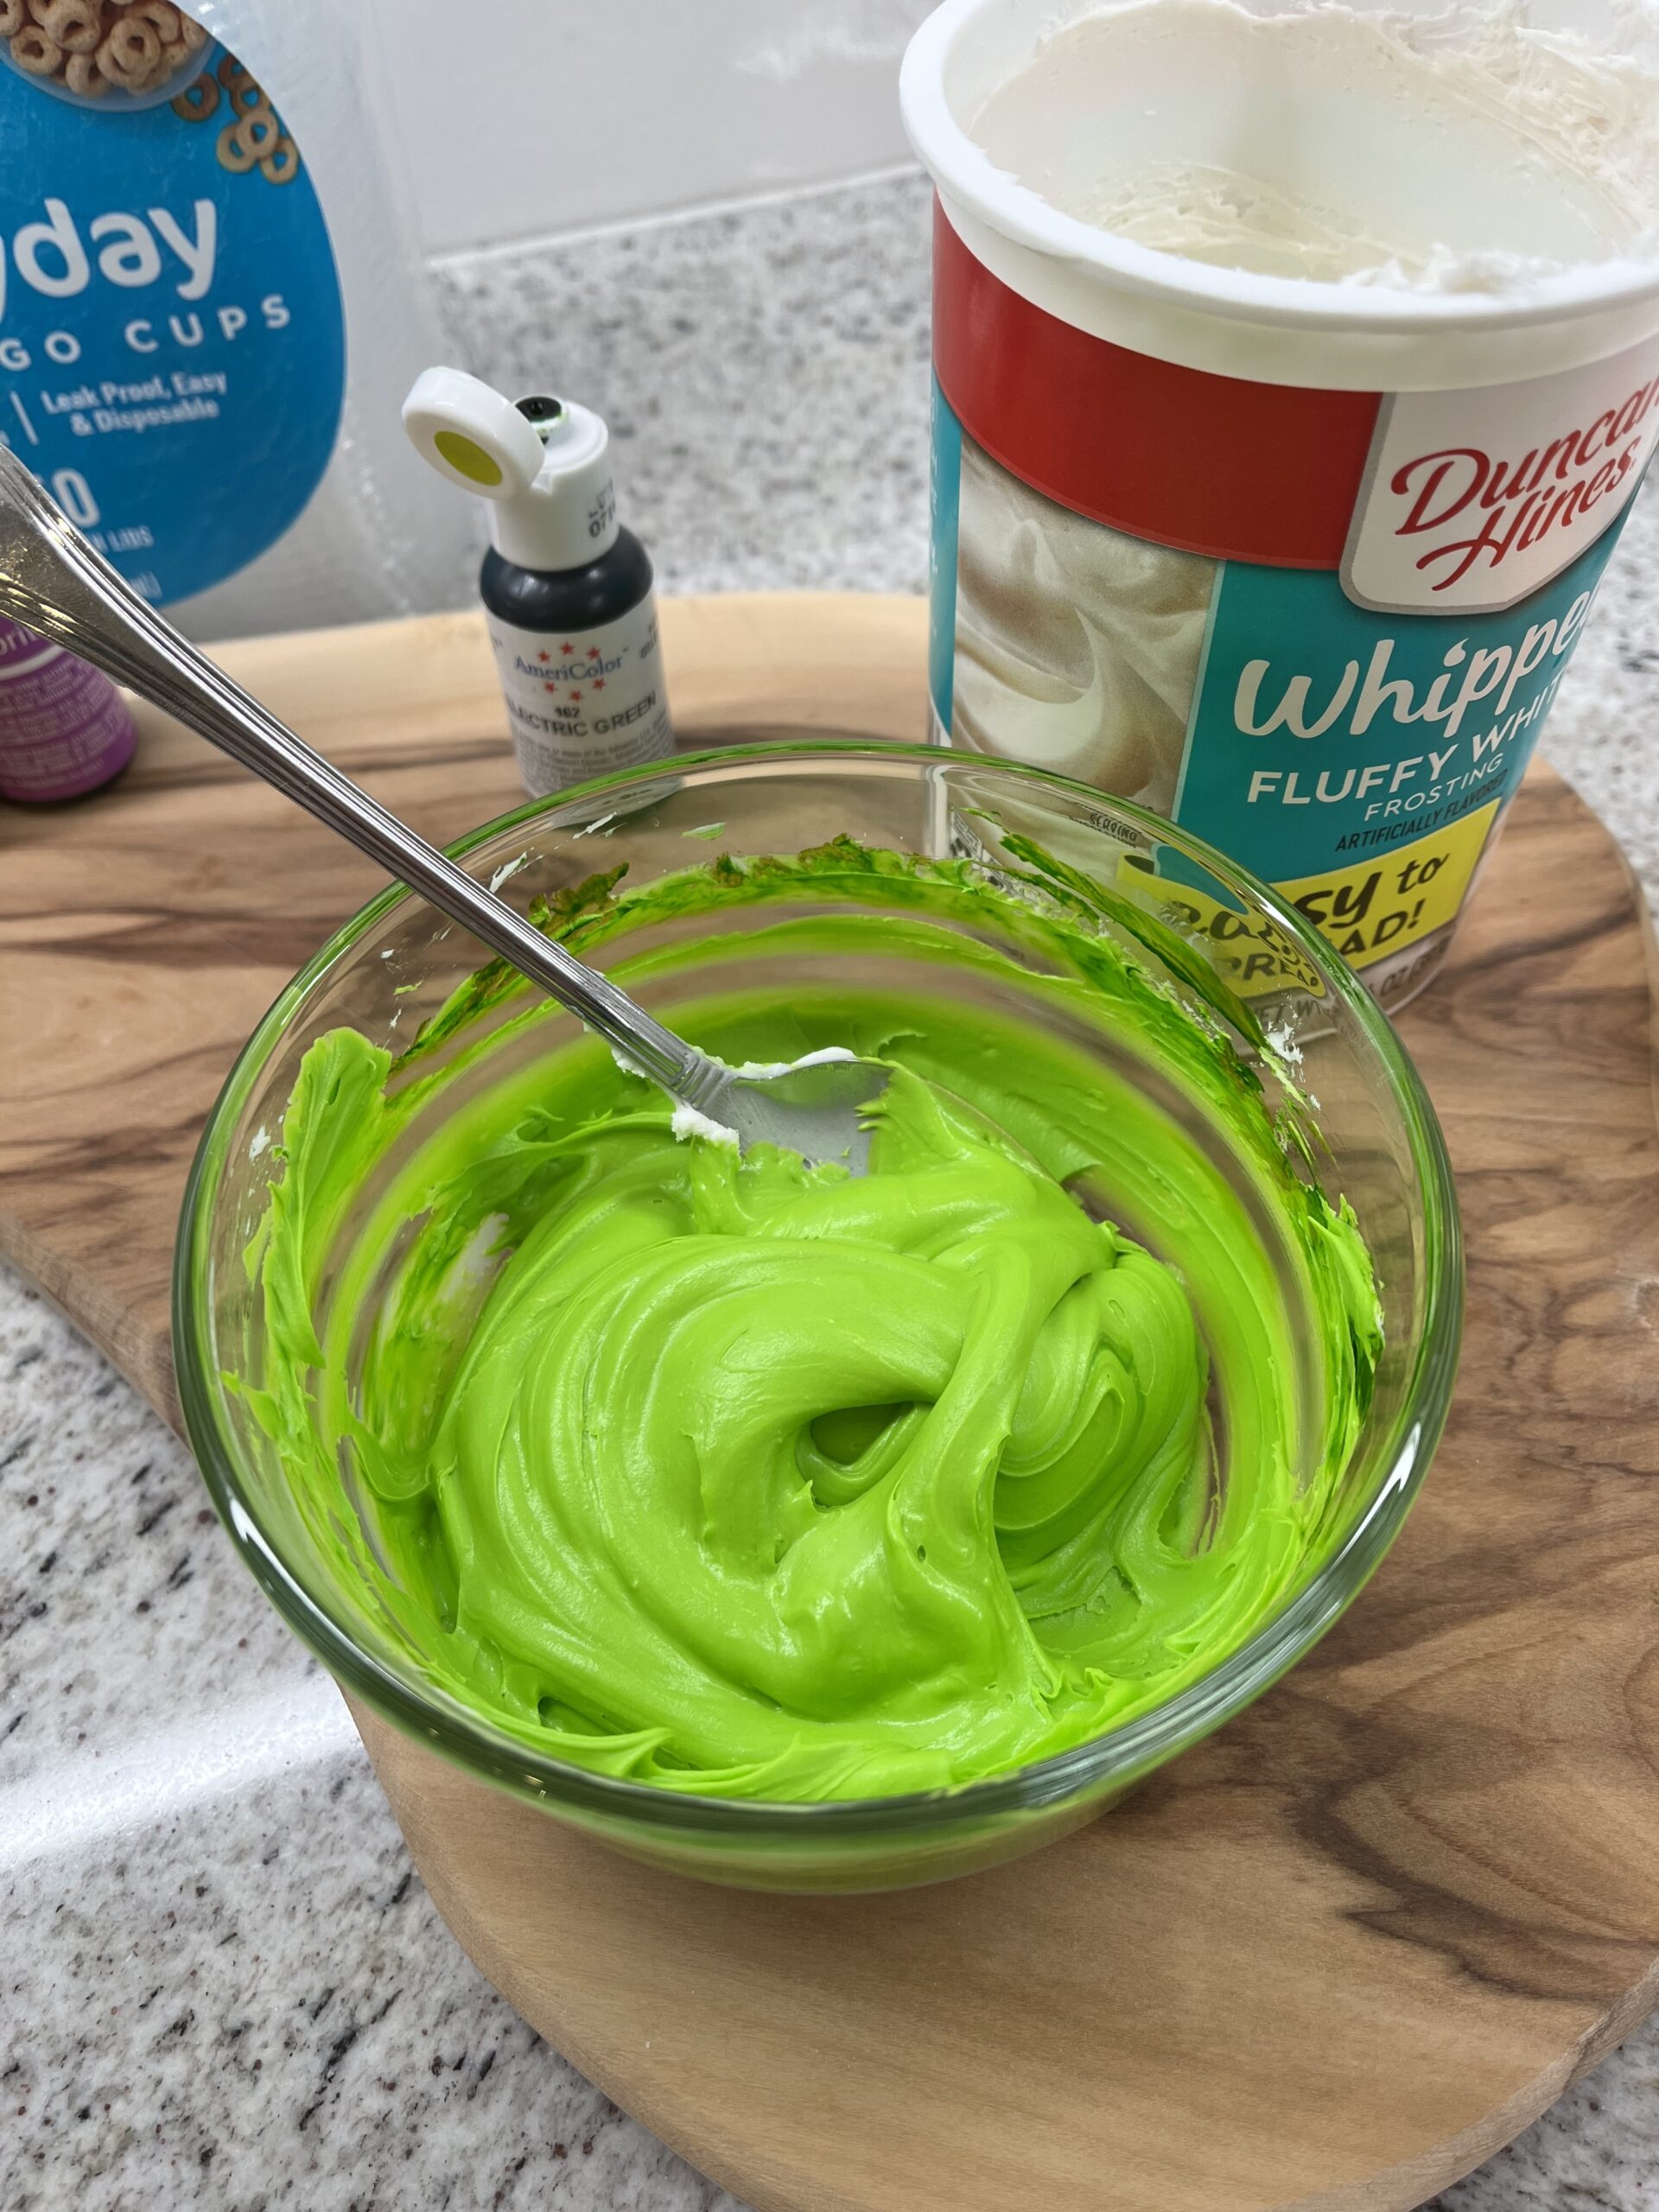
Use food coloring or color gel to color your frosting. I divided my white frosting into three bowls and colored each a different haunting hue.



Step 4: Get giving!
For packaged cookies as treats and favors for ghosts and hosts: Fill a small disposable condiment cup with colored frosting, sprinkle generously with…..sprinkles! Apply the lid, put the frosting and about 5-6 cookies in a 6 x 10 inch food safe cellophane treat bag, and tie together with tag (download here) and ribbon.
For a cookie display to make all the ghouls and goblins green: fill a small bowl with frosting and arrange cookies on a tray around it. Take to the party and become everyone’s favorite!
